It finally feels like fall! After a blistering hot summer (I literally can't remember the last time I was cold), autumn has made an appearance. Warm days, cool nights, leaves falling...I couldn't be happier!
I haven't posted for a while because we spent the summer doing amazing things, like:
Traveling to Mexico with some of the best friends ever,

going to wonderful weddings in Minneapolis...


Alas, summer is over and it's back to work and back to school. Somehow it's all more manageable knowing that pumpkin beers, cozy sweaters, and all of my favorite holidays are just around the corner.
With that in mind, here's one recipe that makes autumn even sweeter:
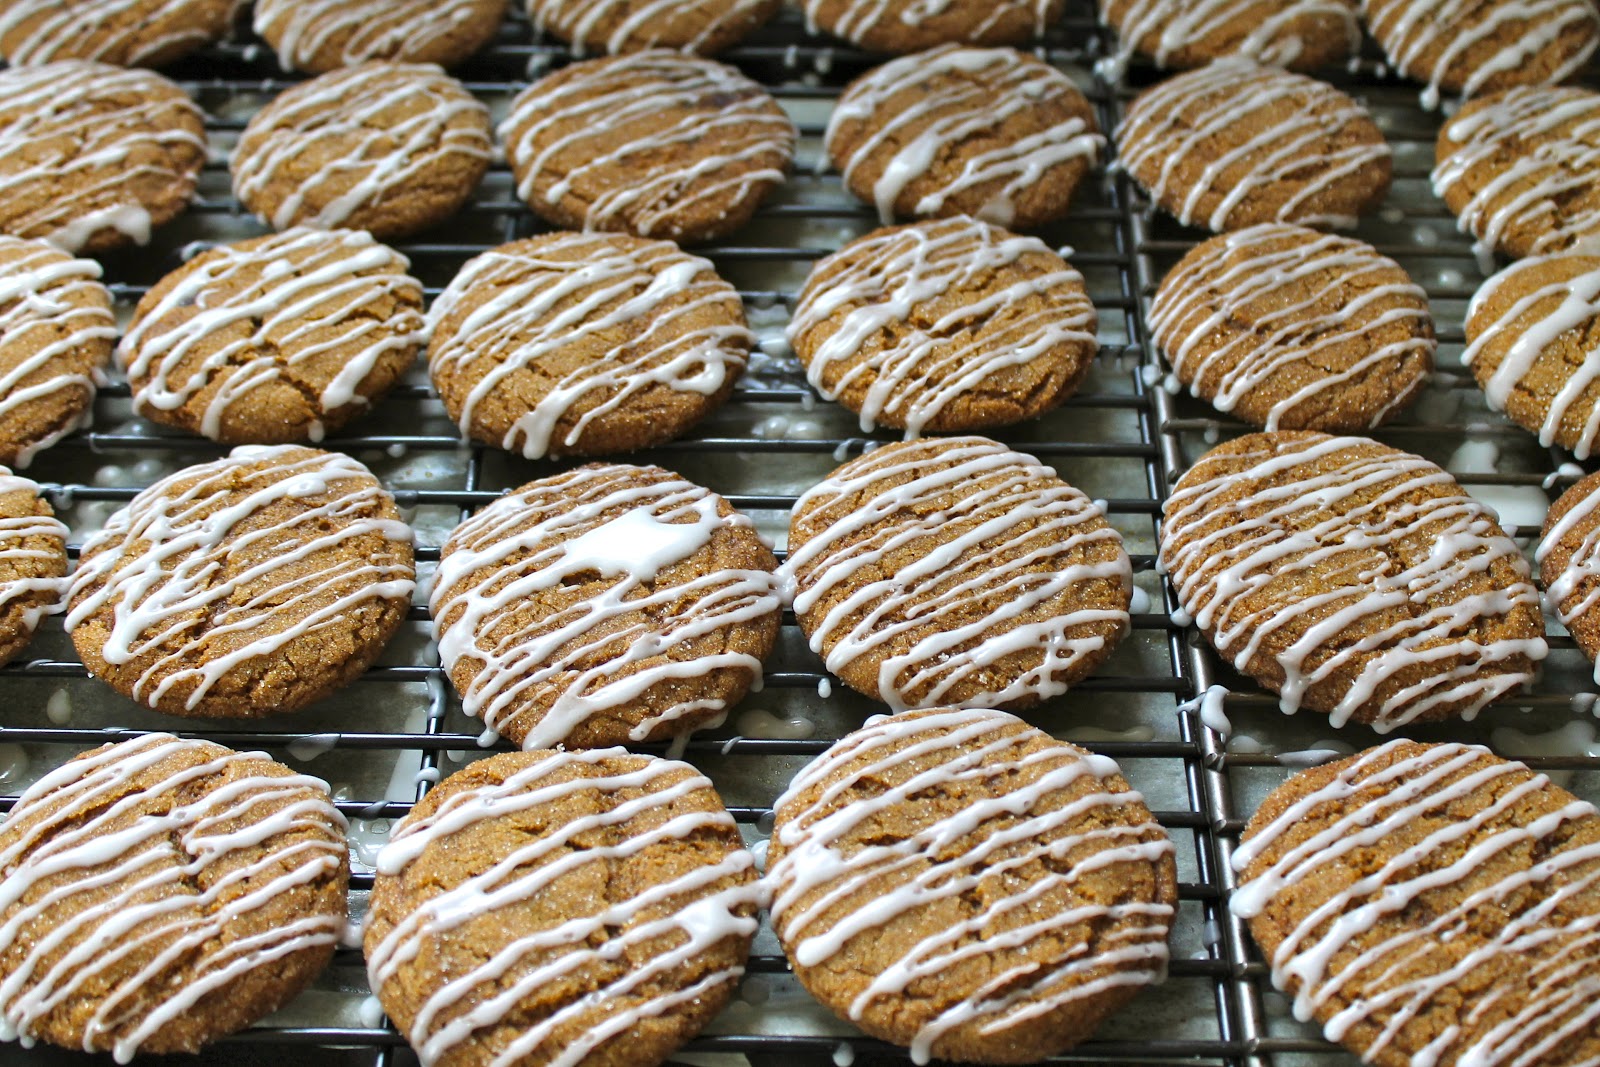
Molasses Spice Cookies
from Best Recipe (by Cook's Illustrated) - I highly recommend this cookbook!

For cookies:
2 1/4 C all-purpose flour
2 tsp baking soda
1/2 tsp salt
1 1/2 tsp ground cinnamon
1 tsp ground ginger
3/4 tsp ground cloves
1/4 tsp ground allspice
12 tbsp (1 1/2 sticks) unsalted butter, softened
1/2 C dark brown sugar, packed
1/2 C granulated sugar, plus 1/3 C for rolling cookies
1 large egg
1 tsp vanilla extract
1/3 C unsulphured molasses
For glaze:
1 1/4 C powdered sugar, sifted
2 tbsp milk
Adjust racks to up and lower middle positions and heat oven to 375 degrees.
Whisk flour, baking sode, salt, and spices together in a medium bowl and set aside.
Cream butter, brown sugar, and 1/2 C granulated sugar until light and fluffy, about 3 minutes with a mixer on medium speed. Add egg, vanilla extract, and molasses. Beat until combined, about 30 seconds.
Add dry ingredients and beat a low speed until just combines, about 30 seconds.
Place remaining 1/3 C sugar in a shallow bowl or pie pan. Pinch off and roll 1 inch balls of the dough. Roll in sugar and place on an ungreased cookie sheet (use parchment paper for easy clean up).
Bake, reversing position halfway through baking, 11 - 13 minutes. The outside edge should begin to set and the center should be fluffy. Cool on sheets for a few minutes before transferring to cooling rack.
To glaze the cookies, use a spoon and work dripping the glaze diagonally across a few cookies at a time. To make clean up easier, put your used parchment paper under the cooling rack. Viola!